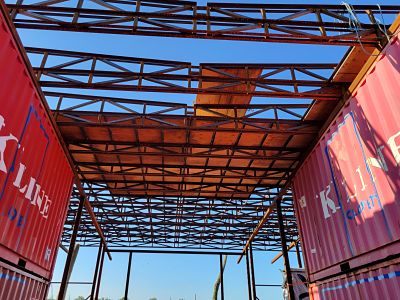
We still have two more trusses to make and put up but we have shifted to installing the plywood on the ceiling/first roof.
Back to work!
 un
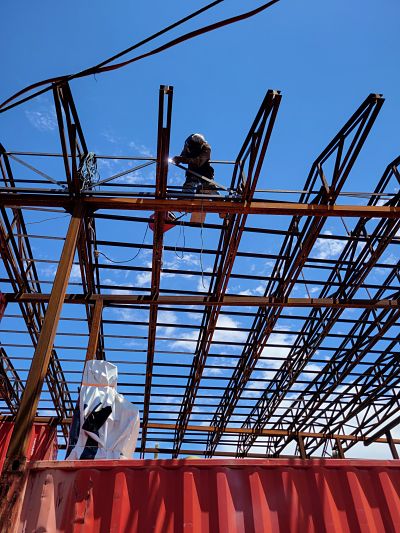
unTo say Covid threw a wrench in the gears would be a vast understatement. Now that Phoenix Rock Gym is making money I have been back to work on the house. 13 of 15 trusses are up. I’m welding the trusses together creating one big unified roof structure. Plywood going up soon.
Soap & snow!
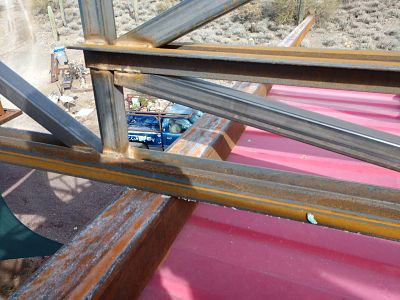
We got truss #12 up today before the rain. We tried rubbing bar soap on the support beams. This made sliding the truss into place so easy we did not need to use the come-a-longs. You can see some of the soap along the edge of the truss.

It snowed a couple day ago. No welding on the house those two days.
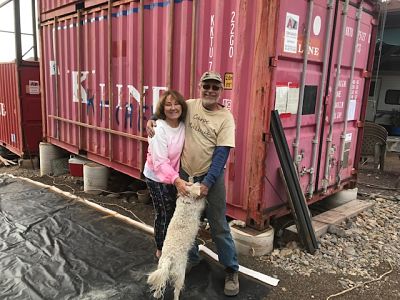
The happy Desert Nest family.
Happy New Year
It has been awhile since the last update. We had a very successful Hidden In The Hills Studio Tour in November. Sales were great and I have lots of commission work to do. In between I will be back working on the house.
Working on truss #12. Flannel lined jeans (thanks Maggie) keep me from freezing while laying on the cold ground.

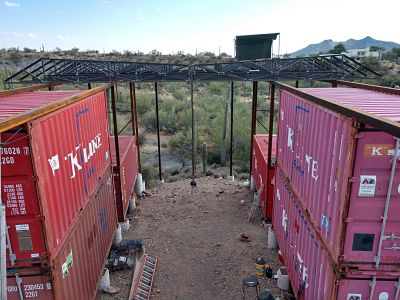
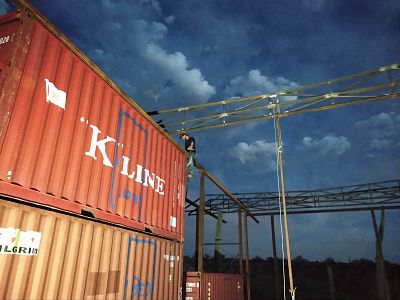
This is the view from the south of the house. The structure looks huge from this angle. We installed 2 pieces of plywood on the lower roof to make it easier to get from one container to the other.
Truss #10

10 trusses up!
Truss #8

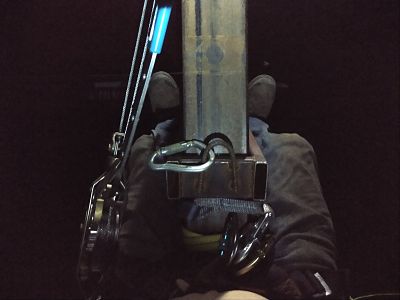
This is how we connect the hoist to the center of the truss.
Once the truss is lifted above the support beams (which the truss clears by one inch) one end is pulled over the beams. Gandalf stands on that side of the truss to hold it in place. He presses the lift button so the other end clears the support beams and I pulled the truss into place while he lowers the truss so it rests on the support beams.

Looking up at the truss restign on the edge of the support beams. Next we each get on top of a container and hook up a come-a-long and start dragging the truss into place.
Eight trusses in place. Yay!
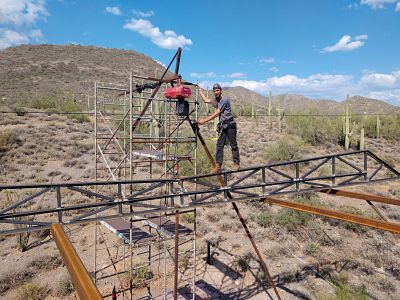
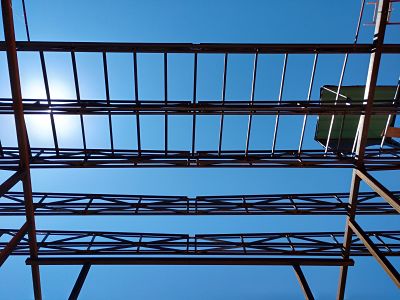
Shade good!

Gandalf is starting to weld the angle iron pieces between the trusses that will support the plywood roof. He is not quite the desert rat as me so he built this movable shade structure that slides along the truss as he welds.
Staying cool
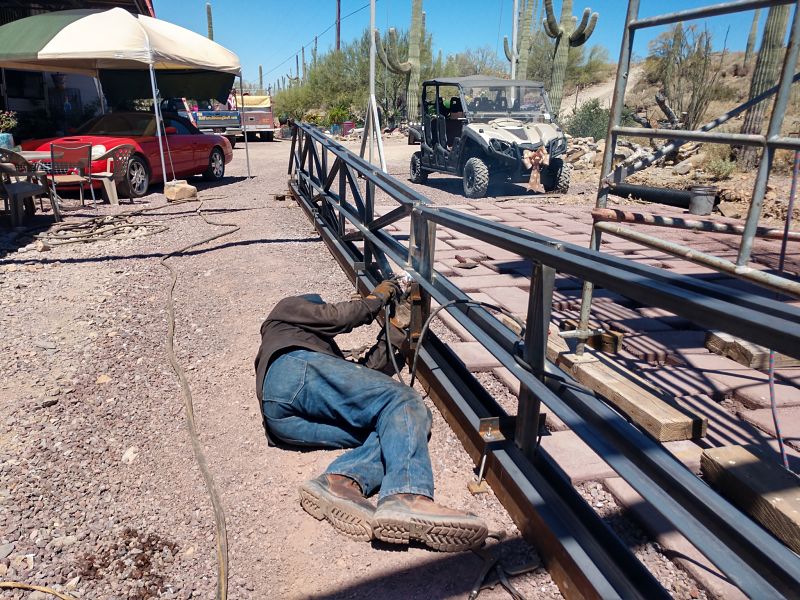
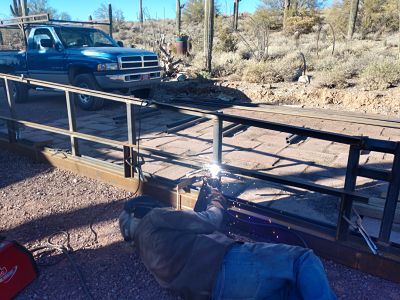
A question I get often is: How do you stay cool working during the summer when temp reach 100+ and often 110+? Answer: I don’t. I get very hot dressed in heavy welding clothes. I sweat a ton! I drink two tons of water. The line on the ground behind me is a garden hose that is on and ready to go (why? see below).
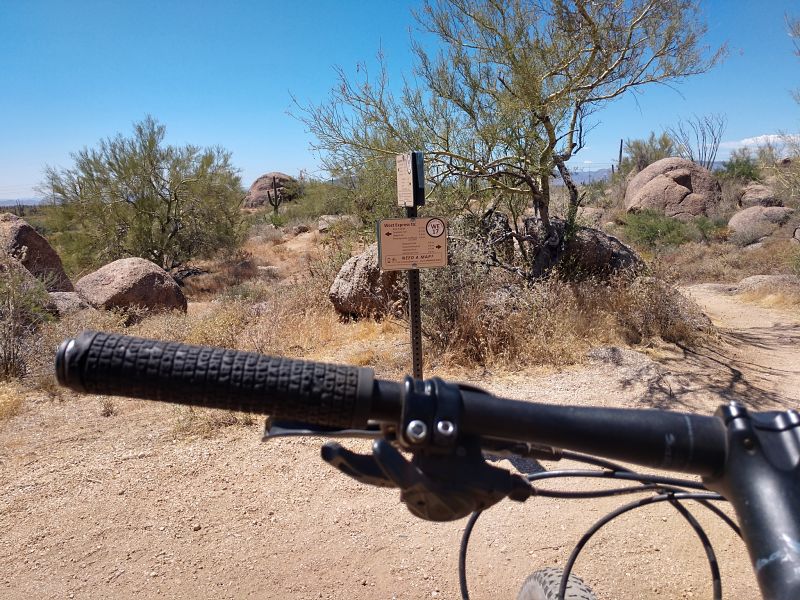
After working this last Sunday I went for a mountain bike in the afternoon at Brown’s Ranch in Scottsdale to cool off. It has many miles of great trails. I had the whole place to myself.
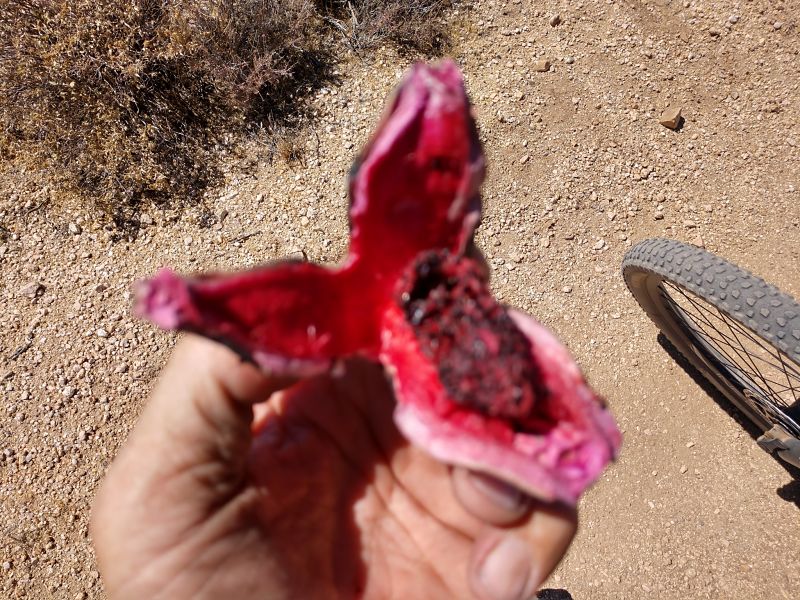
About an hour into my ride I stopped to pickup this saguaro fruit off the ground for a quick tasty snack. As I looked to the northwest I could see a plume of smoke in the vicinity of our home. I called Maggie at home. She went outside and told me the fire was about 1 mile to the west and the air was getting smokey. Raced back to the trailhead and drove back home. Luckily the fire department was able to quickly contain this plumber started fire. A garage and casita burned to the ground. Other recent fires quickly cosumed 1000 acres and destroyed serveral homes.
When welding outside I always thoroughly wet down any nearby vegetation. I do this every 10 minutes to make sure the plants and ground stay wet.
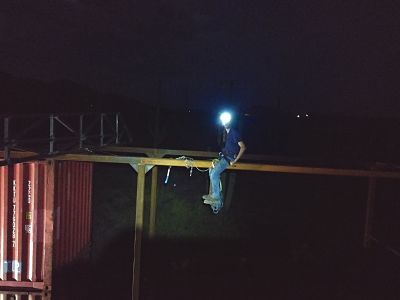
Hot iron!!!
Steel gets a tad toasty when it has been sitting in the sun. So we had dinner at Stumblina Cantina (and listened to Eddie Roswell singing on their patio) and returned to work at 8 after the sun had set. Truss number 3 is now in place.

Back to work on the house

I’m back to working on the house. Today I finished welding truss #3. We will get it up later this week.
Our climbing gym, Phoenix Rock Gym, was shut down on March 18. We were finally allowed to reopen on May 13. We had been using my income from the gym to fund house construction. During the shutdown I focused on helping folks worse off then us and bringing in some income from Desert Rat Forge and Rope Guy.