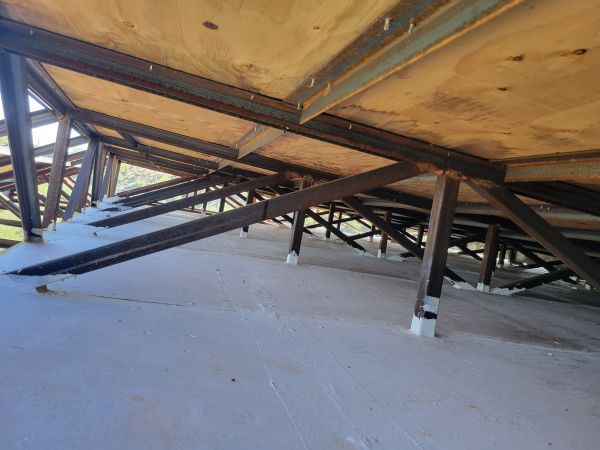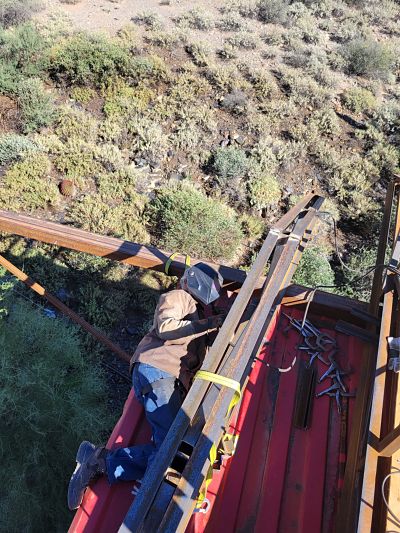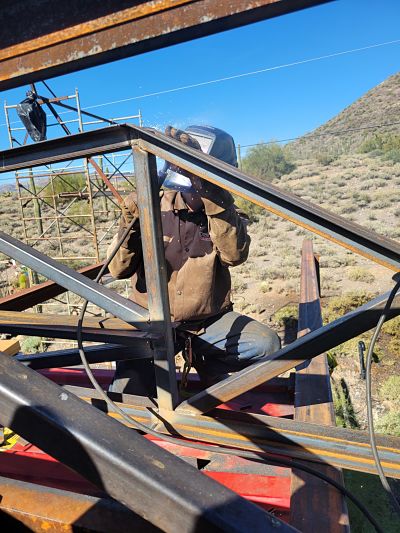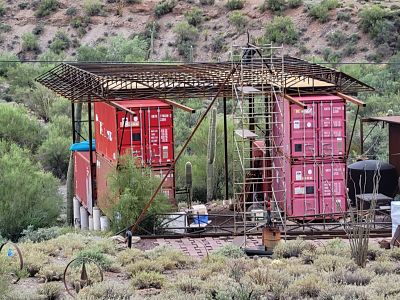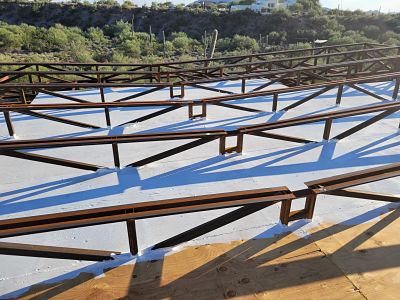
The bedroom expansion floor and ceiling are mostly done,
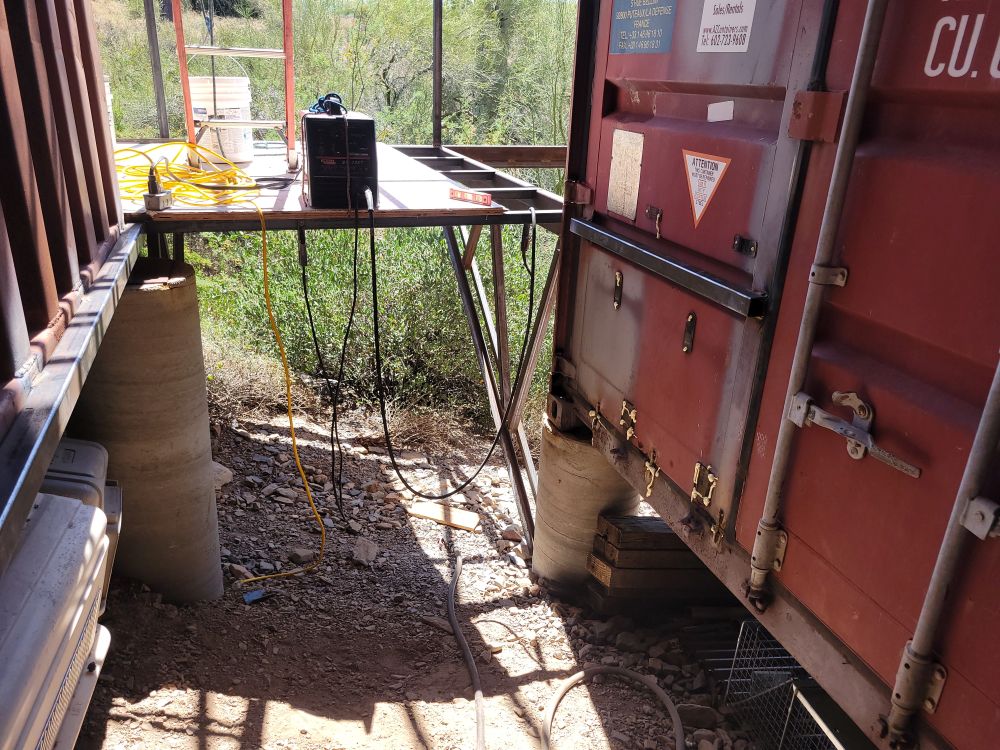
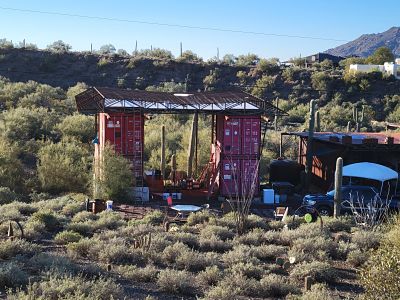
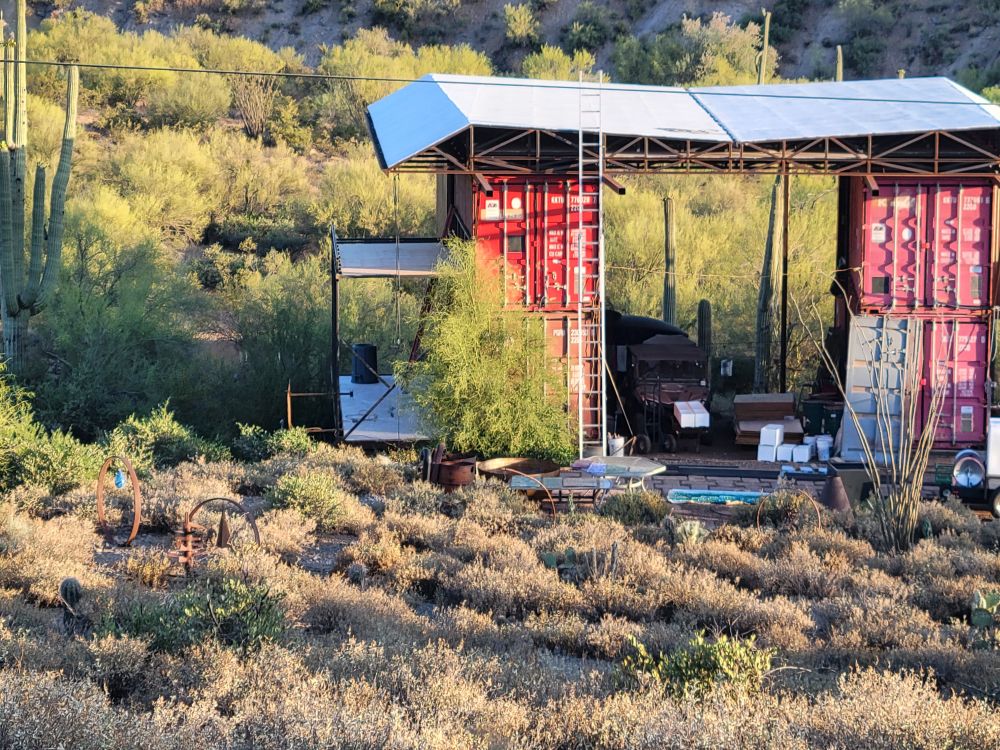
This space between the containers with be the bathroom,
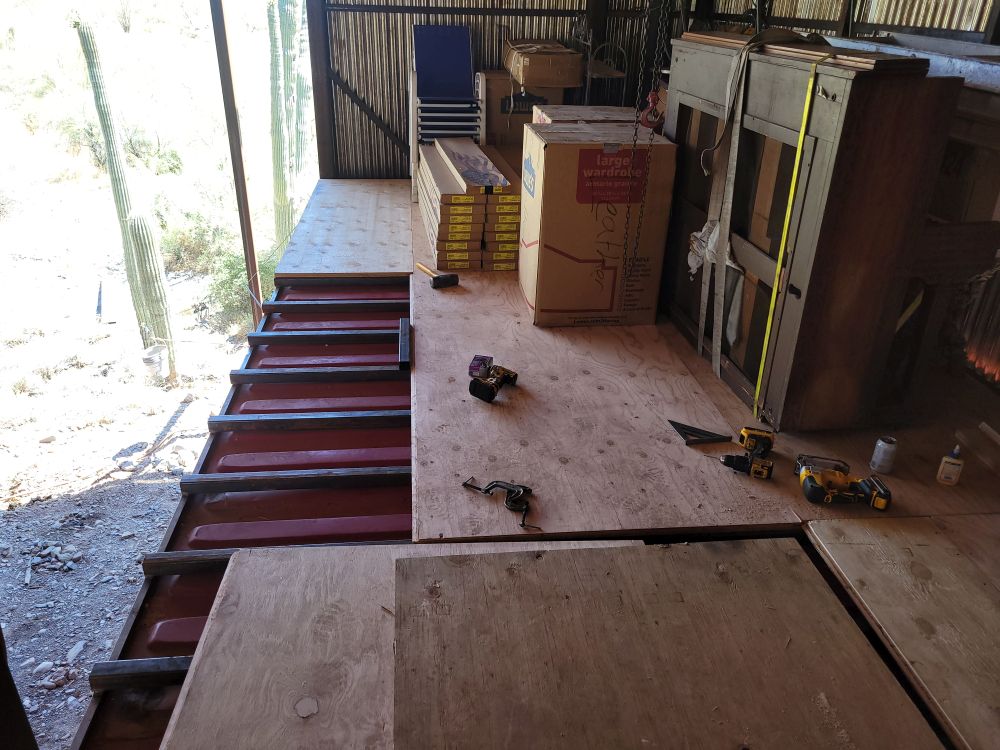
Started putting down the decking in the yoga studio. This will give us some place to put the stuff that is in the bedroom container. It has to be emptied before I can cut the wall and doors out.
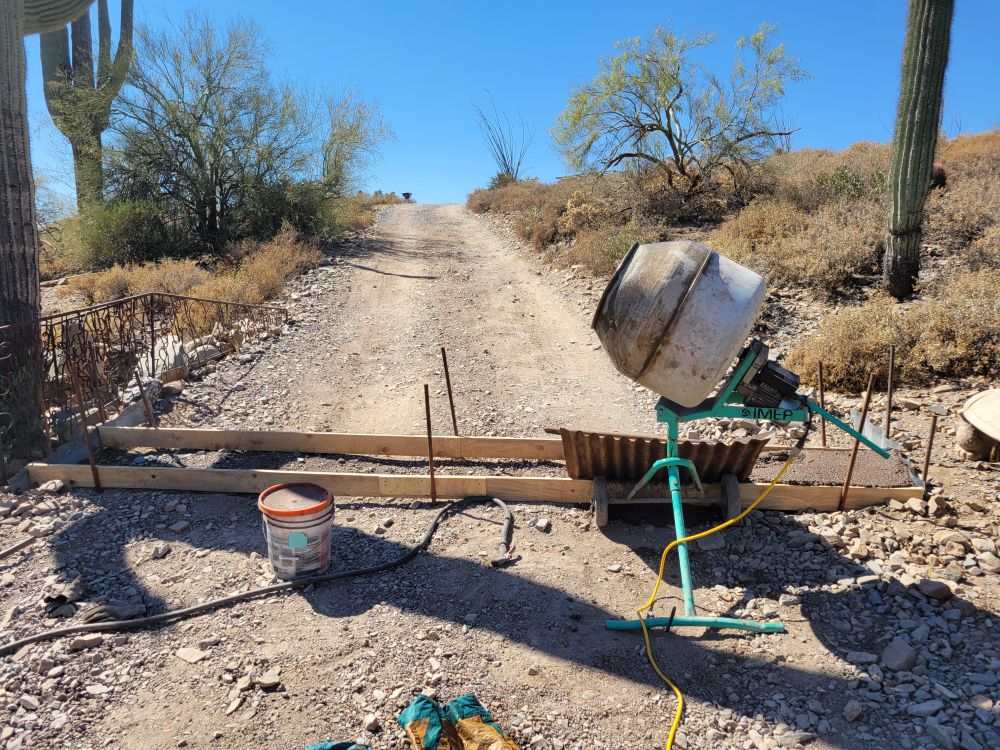
Rains create serious ruts in the driveway. Starting to pour 5 inches of brown concrete in 1 to 2 foot wide strips.
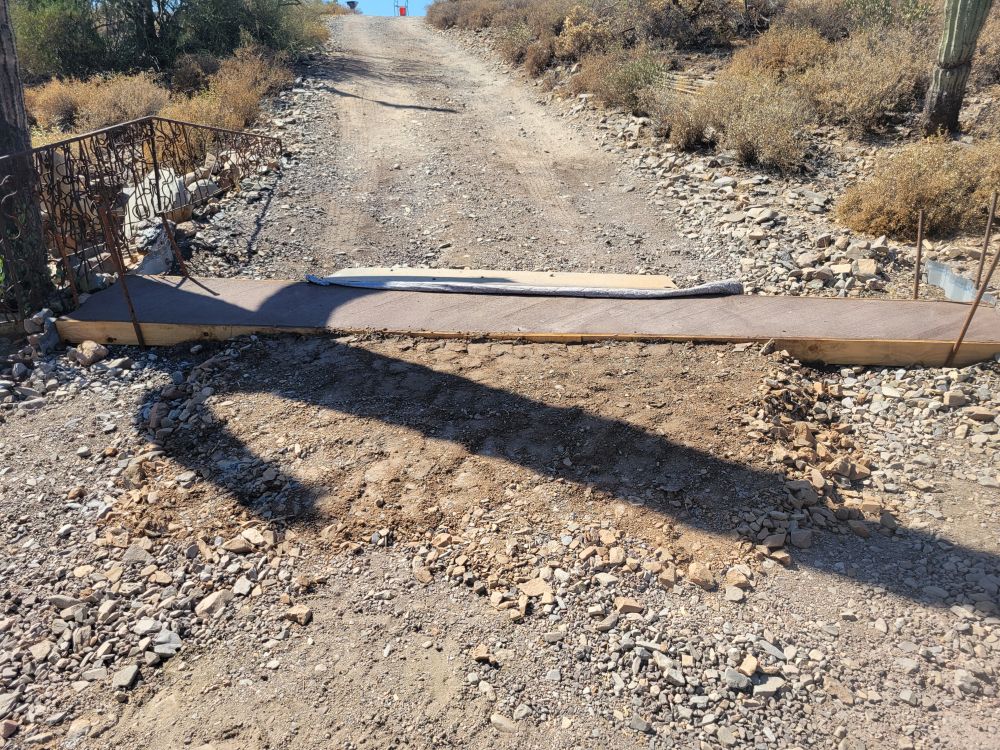
Built a dirt ramp so Maggie’s T-bird can make it over the concrete (eventually the area between this steep driveway and the garage and shop will be concrete). Where did I get the dirt you ask?
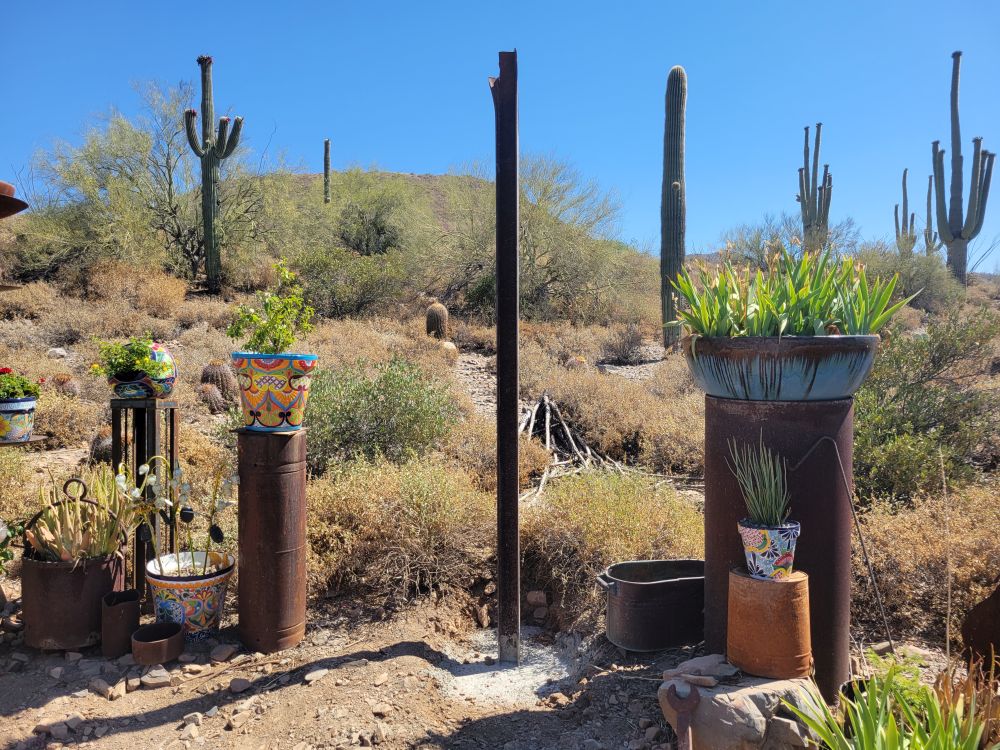
Dug a hole so I could stand up this cool torn I-beam so I could use the dirt for the ramp. Why are you standing up I-beams you ask?
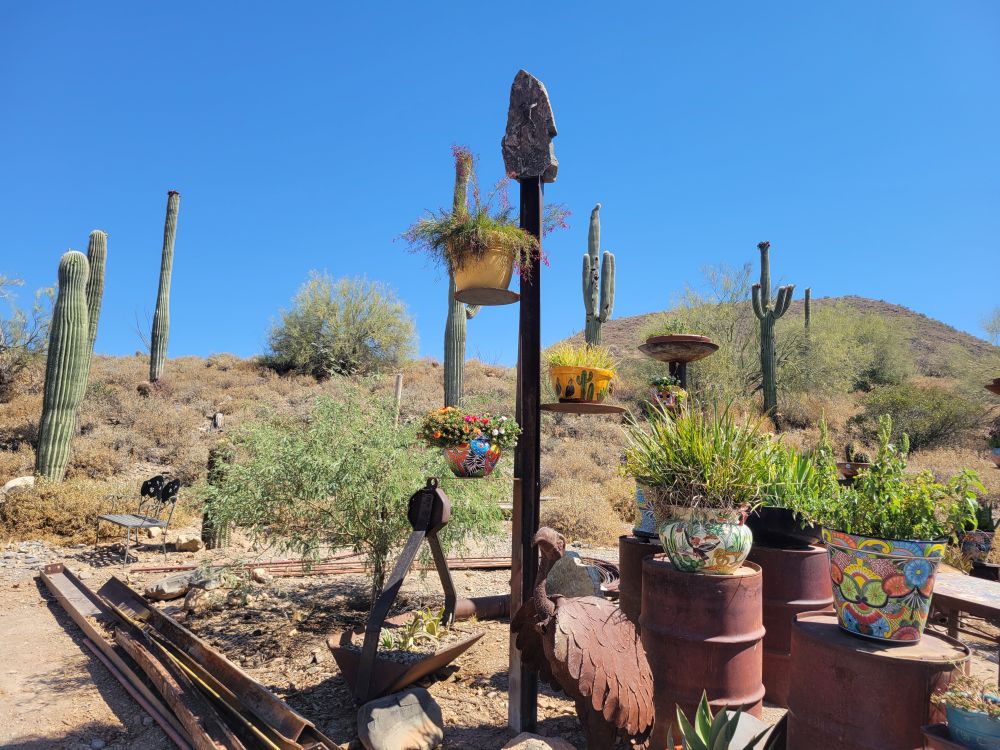
We have been creating a vertical garden with I-beams, posts and barrels. Keeps the critters from eating the plants.
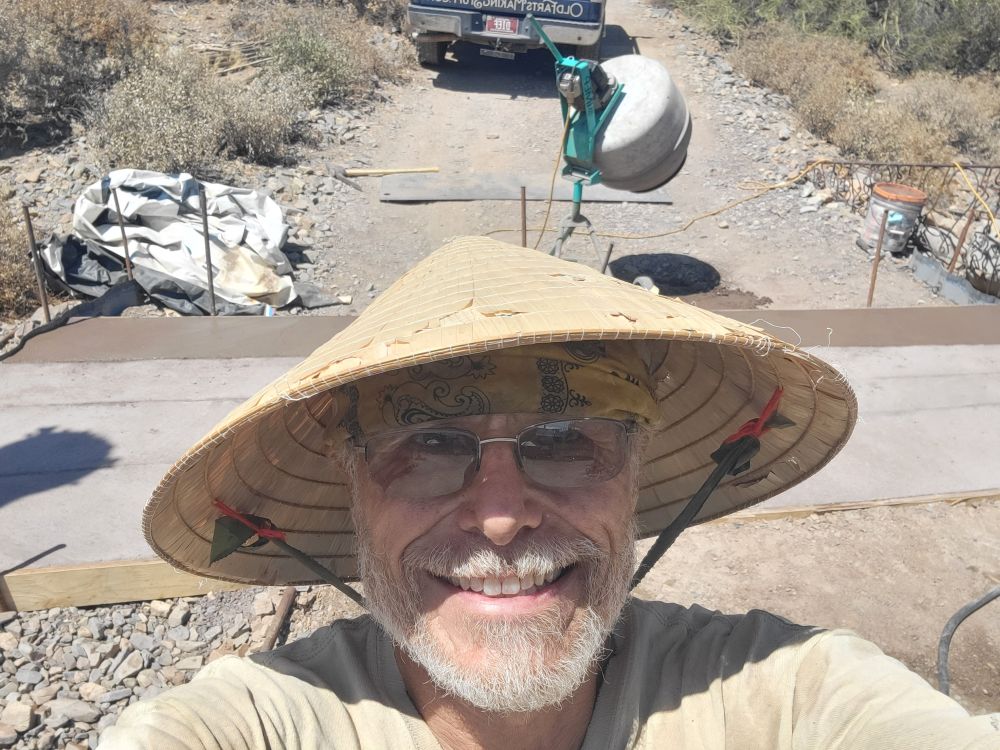
This is how I keep cool when pouring concrete when it is 110.

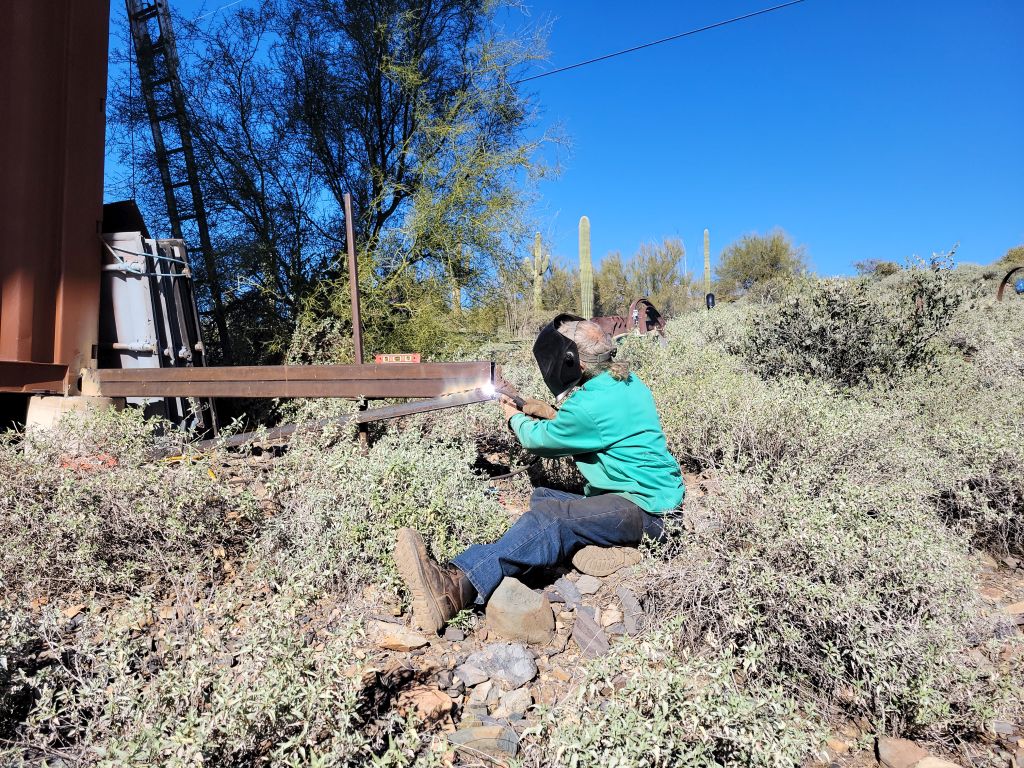
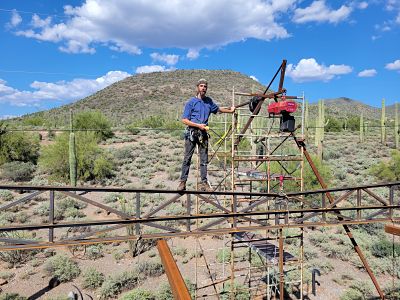
Now that fire season has arrived the Town of Cave Creek requires weekly “hot work” inspections before I can weld or grind outside on the house, They make sure my sprinkler system is on and the brush is wet before I do any welding or grinding,