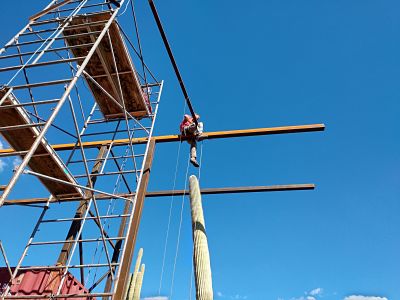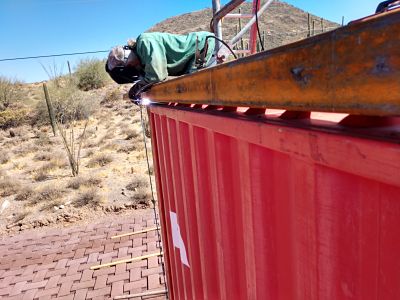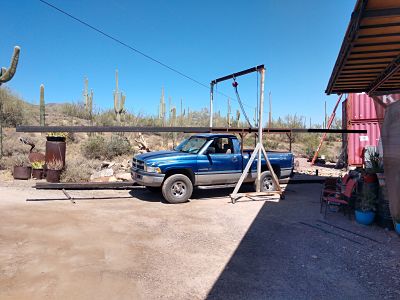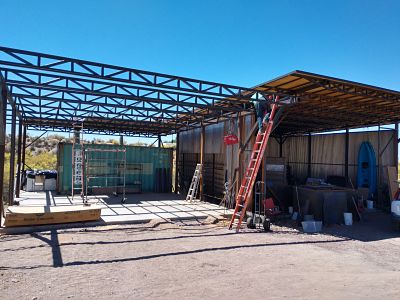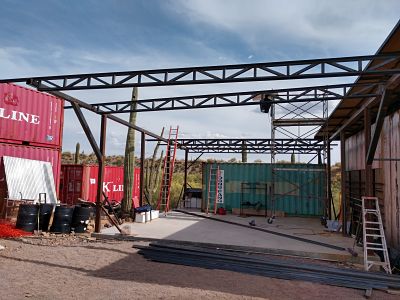
We got the first truss lifted up on top the house! It weighs just under 1200 pounds.
After raising the truss a couple feet we triple check everything to make sure the load is balanced and secure.
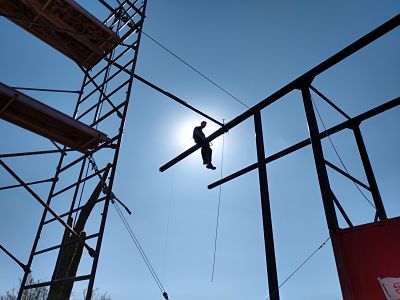
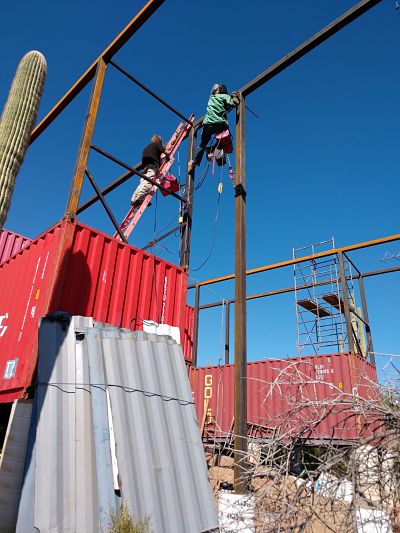
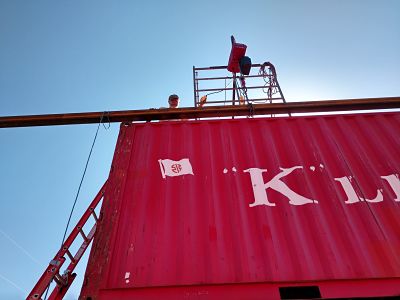
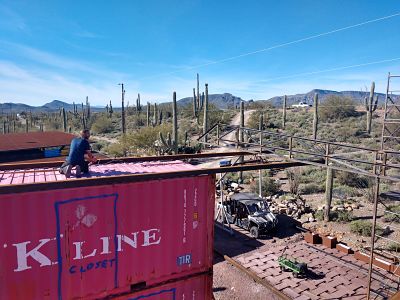
Because the truss will be sitting on the bottom cord it is prone to tipping over until is it welded in place. Gandalf is pointing to the long counter weight temporarily attached to the truss. This keeps it form tipping over. It will be removed once the truss is in its final position.
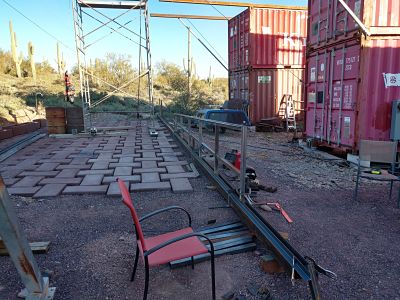
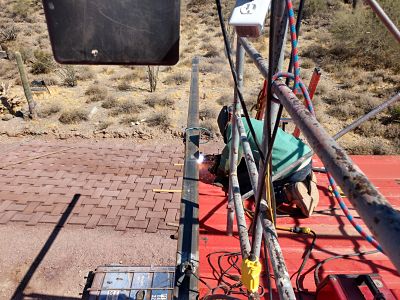
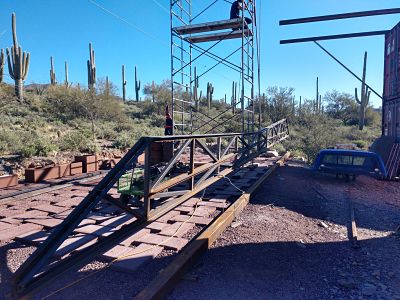
We used come-a-longs to drag the truss into place.
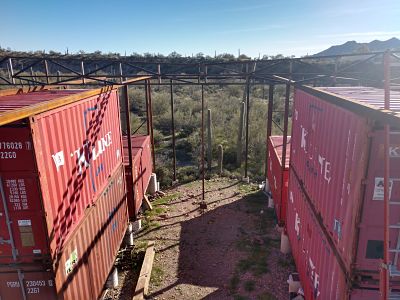
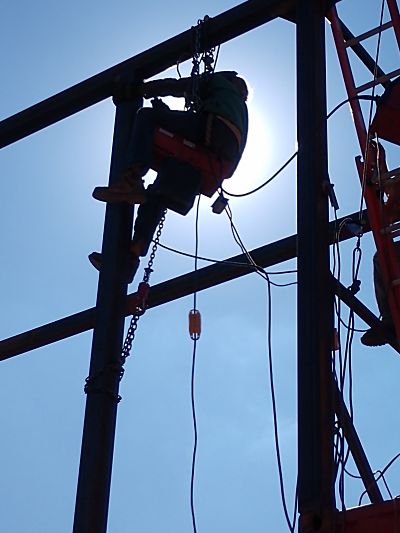
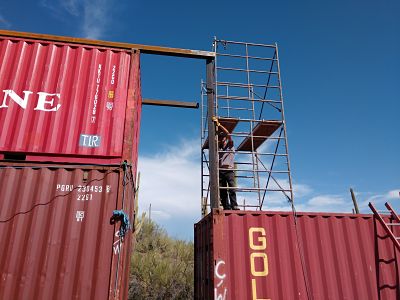
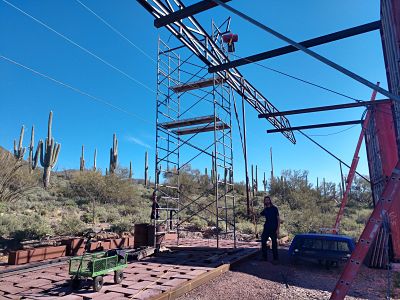
The truss is half way to its final position. It will be a little trickier moving it the rest of the way. Good thing we are climbers.